SASS / Javascript Login and Signup Page
Brief Overview:
SASS stands for Synthetically Awesome Style Sheet. It’s widely used to extend CSS (markup styling sheet language) and it compiles its code into CSS for styling HTML elements. It enhances and simplifies styling processes for web development, which makes it much easier to style projects.
What Advantages Does This Have Over CSS?
SASS has the benefit of nesting and also variables
In CSS where you’d have to write out
id p
{
    attribute: value;
}

id b
{
    attribute: value;
}
You can instead write out
id
{
    p
    {
        attribute:value;
    }

    b
    {
        attribute:value;
    }
}
Another example would be in variables in this example script
$myFont: Helvetica, sans-serif;
$myColor: red;
$myFontSize: 18px;
$myWidth: 680px;

body {
  font-family: $myFont;
  font-size: $myFontSize;
  color: $myColor;
}

#container {
  width: $myWidth;
}
FrontEnd/BackEnd of Login Systems:
The Flask backend of the login sets up special paths to handle requests for login and signup. From the user input, different HTTP status codes are produced, such as 200 for success, 401 for unauthorized, and 403 for forbidden. Other outcomes are JSON responses, which are returned to the front end, an example would be “login successful”. The Flask backend secures authentication logic, ensuring secure verification of login credentials. On the front end, HTML forms capture user input for login and signup, and JavaScript uses the Fetch API sends asynchronous POST requests to the Flask backend. The status codes and response data are then used to dynamically update the user interface, providing real-time feedback to users.
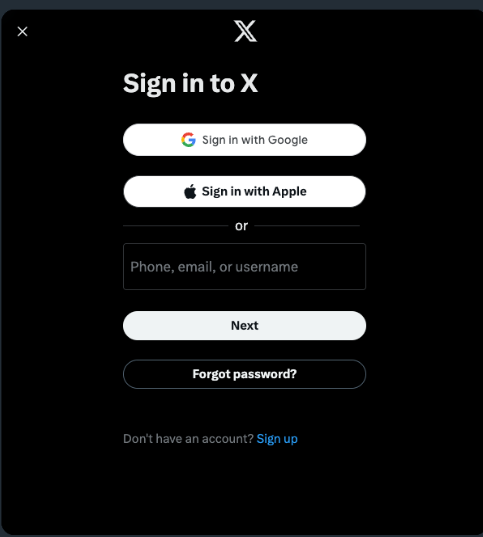
Aside with this, developers use SASS to make login pages colorful and aesthetic.
HTTP Response Codes:
In all of these GET/POST requests, the range of responsne codes from the server ranges from 100 to 599
100-199 are informational 200-299 means that everything succeeded 300-399 are for redirection 400-499 are for client error responses 500-599 are for server error responses
The main codes to know about are: 200: Successful status code 400: Bad request, a client error 401: The client is not authenticated 403: The client doesn’t have permission to recieve the content 404: The resource can’t be found 405: The method (POST/GET) is not supported 500: Internal server error, and the server doesn’t know how to respond
Common HTML Elements:
- Input fields (input), where users can enter their username and password
- Containers (div), to act as the boxes to control layout and group elements together
- Card (div), holds related items like input buttons
Common HTML Properties:
Buttons: onclick - when the user clicks a button it executes a JS function Placeholders - displays text in a area where the user inputs, like “enter username” Class - categorizes elements
Hack 1
SASS is an extension of which language?
- JavaScript
- HTML
- CSS
- PHP
Hack 2
Which of the two images have better SASS

Hack 3
In step 5 of the Process of Creating a Login Screen (see above), if there were to be a 403 error what did the user do to get this message and what should they do to fix it?
Process of Creating a Login Screen
- Gather user input
- Develop a frontend function to send authentication requests to the backend
- Implement backend methods to permit authenticated users to send GET requests when accessing the frontend database
- Integrate backend methods into the frontend
- Check authentication using the JWT method and retrieve the database if successful
- Manage errors for authentication failures
Adding Login:
- Establish a frontend login function for sending authentication requests to the backend, including user input as variables
- Create a database page method calling a GET method, ensuring authentication before displaying data
- Include error handling for failed authentication
Steps:
- Collect user information
- Encode user data as URL parameters
- Send a POST request to the backend for user creation